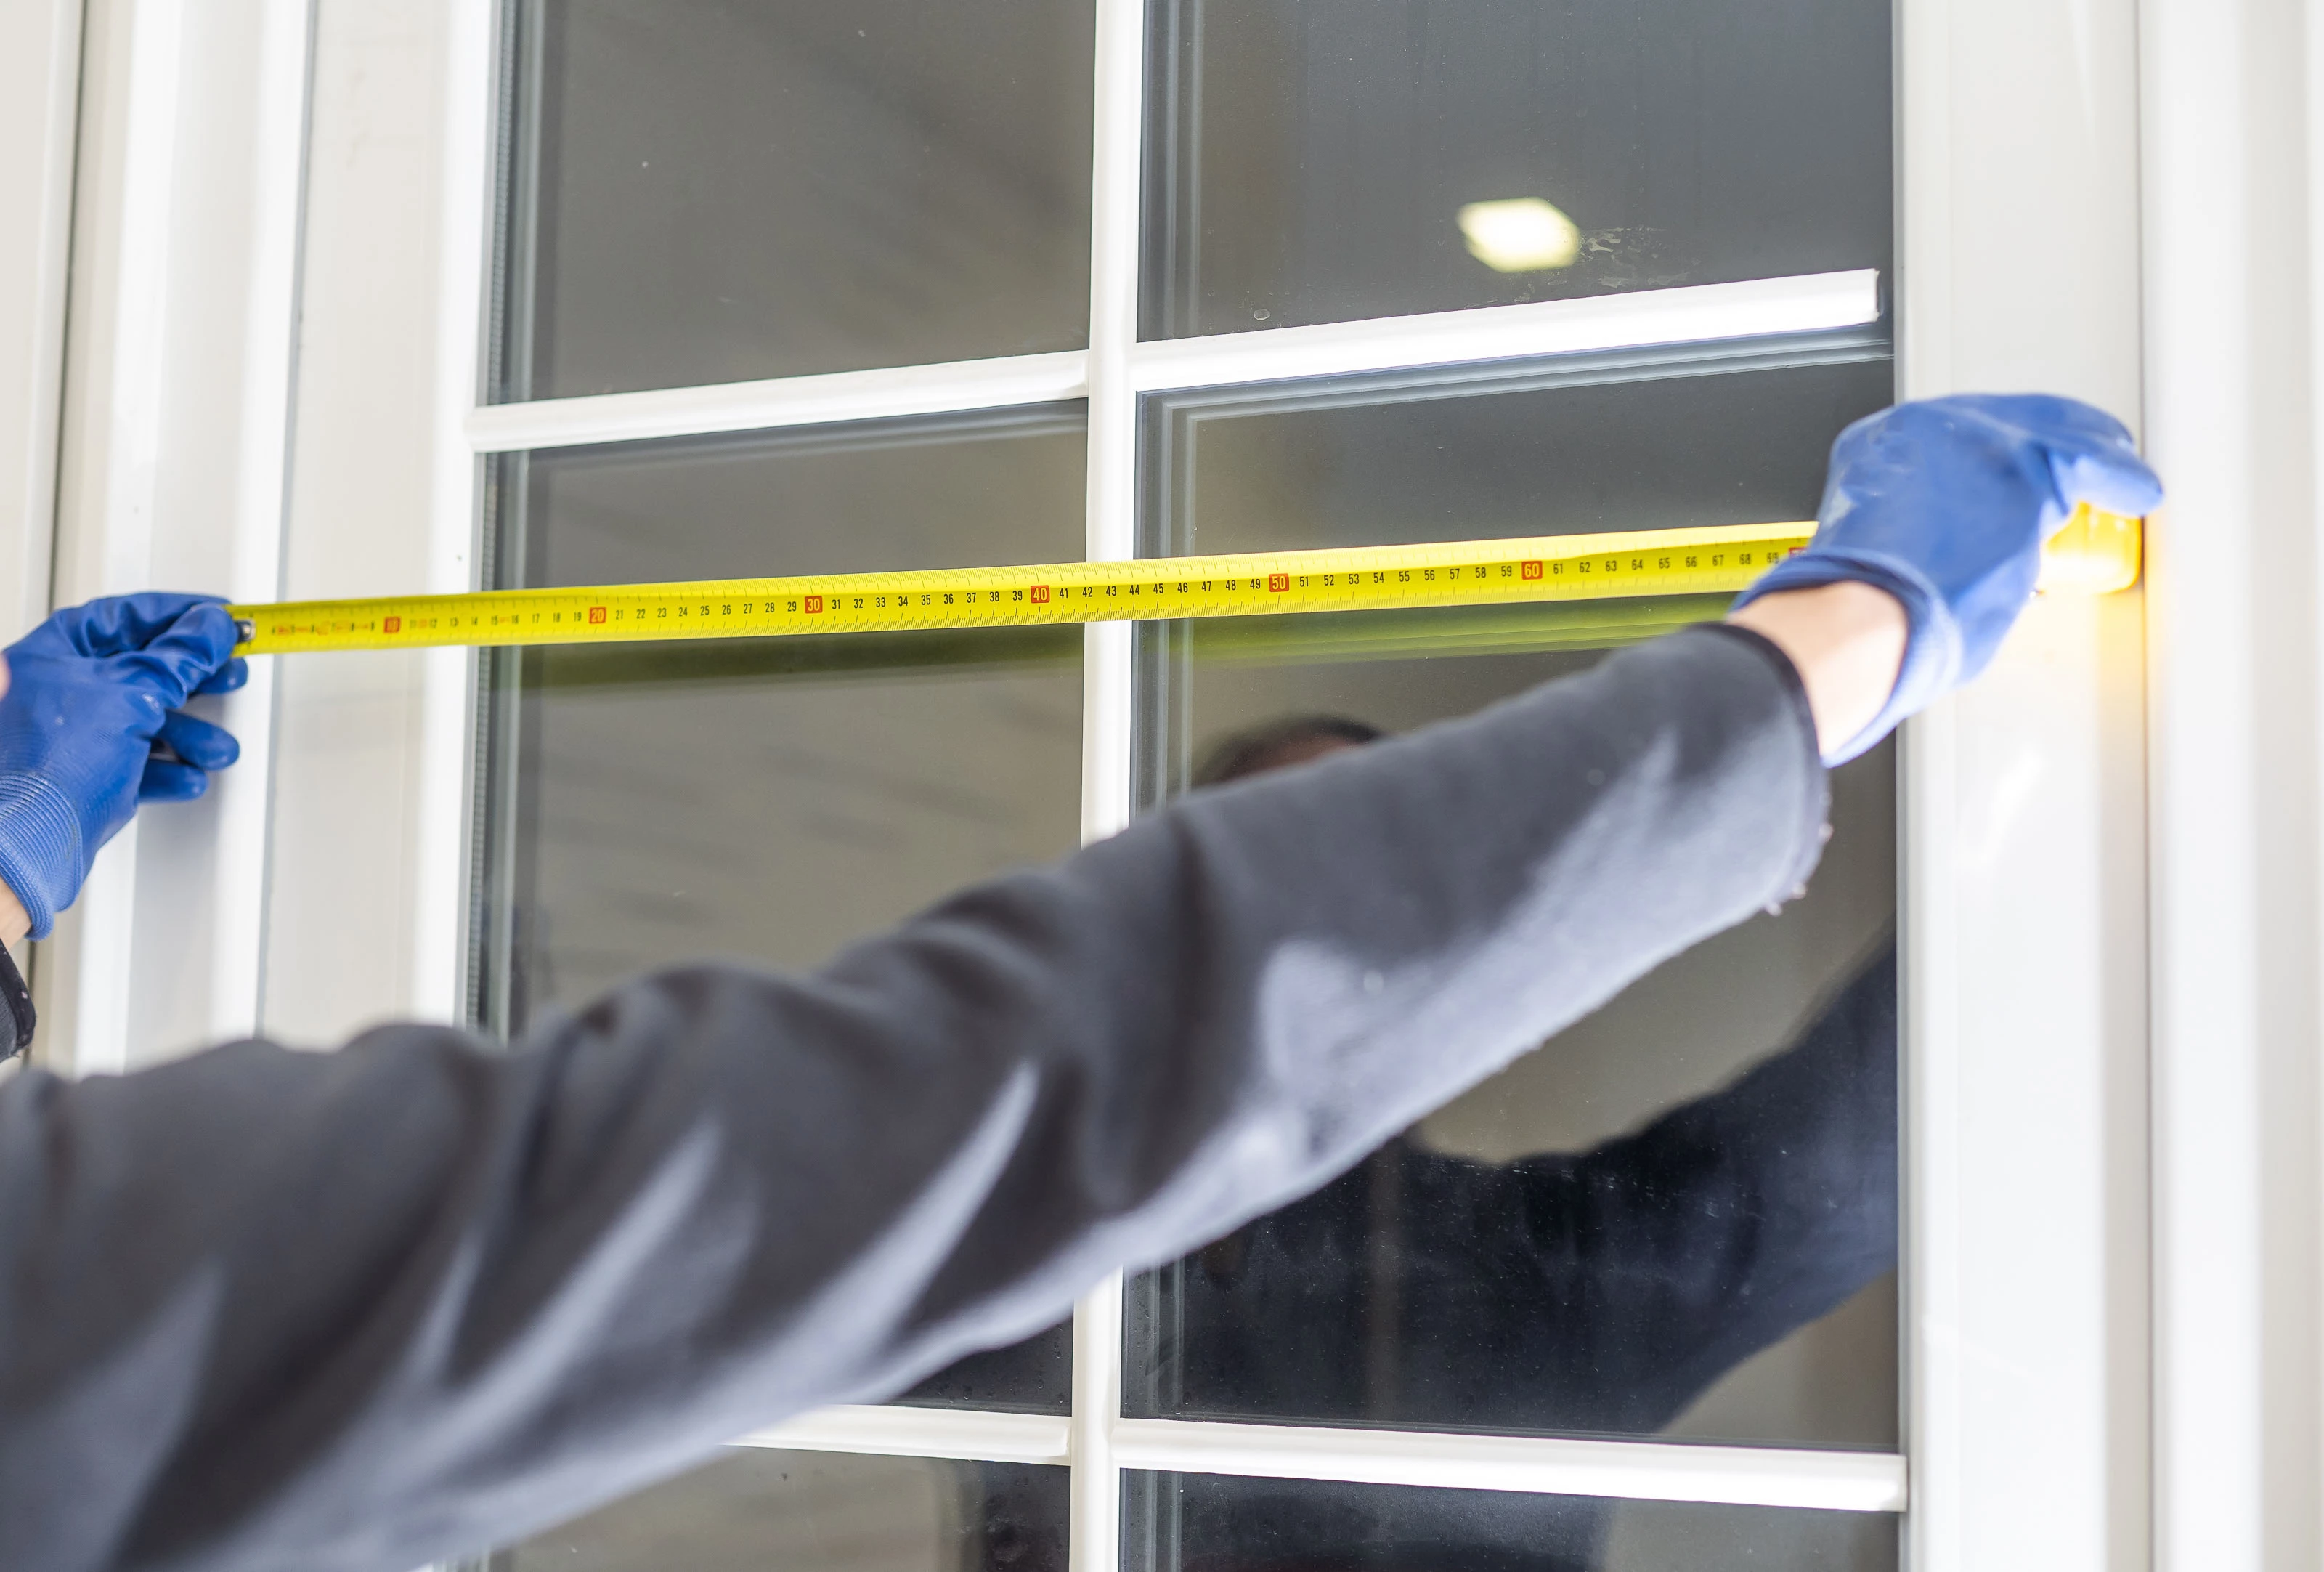
How to Measure for Replacement Windows: A Step-by-Step Guide


Replacing old windows can dramatically improve your home's energy efficiency, comfort, and appearance, but only if they fit correctly. Whether you're doing it yourself or hiring a contractor, knowing how to measure your windows the right way is the most important first step. In this guide, you'll learn exactly how to do it, and why those measurements matter more than you might think.
Why Is It Important to Measure Windows Accurately?
Accurate window measurements prevent costly problems during and after installation. An ill-fitting window can result in:
- Drafts and energy loss
- Water leaks
- Difficult operation or misalignment
- Increased labor or return fees
Even being off by a quarter inch can affect how well your new window performs. That is why professionals and smart DIYers measure carefully and verify their numbers before placing an order.
What Tools Do I Need to Measure for Window Replacement?
Gather these tools before you start:
- A metal tape measure for better rigidity
- A pencil and notepad or a smartphone to record your measurements
- A level to check for square frames
- A ladder if you are measuring upper-floor windows
How Do I Measure for a Replacement Window?
Your goal is to measure the window opening, not the window frame or trim.
Step 1: Measure the Width
- Measure horizontally at the top, middle, and bottom of the window opening
- Place the tape from one interior jamb to the other
- Record the smallest of the three measurements
Step 2: Measure the Height
- Measure vertically on the left side, center, and right side
- Start at the high point of the sill and measure to the top of the opening
- Again, record the smallest number
Step 3: Measure the Depth
- Measure from the interior to the exterior stops inside the window frame
- Check multiple points to ensure consistency
- Make sure the opening has at least 3¼ inches of depth, which is standard for most replacement windows
Tip: Always write your numbers down in inches and round down to the nearest 1/8 inch.
What If My Window Frame Is Not Perfect?
Many homes, especially older ones, have window frames that are not completely square. If this applies to you, take extra care by measuring more than once and from multiple angles. Document anything unusual, like warped sills or uneven gaps, and consider scheduling a professional consultation.
Should I Measure the Windows Myself or Call a Professional?
Measuring your windows yourself is a great way to get a general idea for budgeting and planning. However, when it comes to placing your order, especially for custom-sized windows, it’s a good idea to have a professional confirm your final measurements. The Window Depot offers expert help to ensure a proper fit and seamless installation.
Get Help from the Experts at The Window Depot
Our team is here to walk you through the window replacement process, starting with accurate measuring. Whether you are working with a contractor or installing them yourself, we will help you select the right window style, glass type, and configuration for your space.
Visit one of our locations or contact us online for a consultation.
Frequently Asked Questions
How do I know if my window frame is square?
Measure diagonally from corner to corner in both directions. If the numbers match or are very close, your window is square. If not, the opening may need adjustment.
Can I reuse the existing frame for a replacement window?
Yes, this is possible if the existing frame is still in good condition and is not warped. Many replacement windows are designed to fit within an existing frame.
What is the difference between a rough opening and a finished opening?
The rough opening refers to the space between wall studs. The finished or net opening is the space inside the trim where the new window will sit. Always measure the finished opening when ordering replacement windows.
How precise do my window measurements need to be?
They need to be very precise. Always round down to the nearest 1/8 inch to avoid ordering a window that is too large for the opening.

